Nginx is a web server and reverse proxy server with open-source code. It is designed to handle high website traffic and provide fast and efficient service for requests. Nginx can be used as a standalone web server for serving static pages and files, as well as a reverse proxy server for load balancing and distributing requests among multiple servers. It is also known for its high performance, resource efficiency, and scalability, making it a popular tool for web development and network management. In this article, we will discuss the installation of nginx on Debian 11. The instructions will be valid for earlier versions as well, such as Debian 10.
Here is a step-by-step guide on how to install Nginx on Debian 11 with detailed explanations for each step:
Step 1. Update the System
Before starting the installation, it’s recommended to update the system. To do this, run the following command:
sudo apt update && sudo apt upgrade
Step 2. Install Nginx
Run the following command to install Nginx:
sudo apt install nginx
Step 3. Starting Nginx on Debian
After installing Nginx, it should automatically start. If it doesn’t, run the following command:
sudo systemctl start nginx
Step 4. Check the Nginx Status
To make sure Nginx has started successfully, run the following command:
sudo systemctl status nginx
If everything went well, you should see the message “active (running)”.
Step 5. Configure the Firewall
To allow access to Nginx, you need to open port 80 and/or 443. To do this, run the following commands:
sudo ufw allow 'Nginx HTTP'
sudo ufw allow 'Nginx HTTPS'
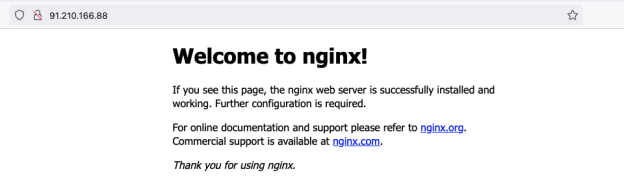
Step 6. Check Nginx
Now you can check if Nginx is working by opening a web browser and entering the server’s IP address in the address bar. You should see the default Nginx welcome page.
Step 7. Configure a Virtual Host
If you want to set up a virtual host, create a new configuration file in the /etc/nginx/sites-available directory. For example, to create a file for test.friendhosting.net, run the following command:
sudo nano /etc/nginx/sites-available/test.friendhosting.net
Add the following code to the file:
server {
    listen 80;
    listen [::]:80;

    server_name test.friendhosting.net www.test.friendhosting.net;

    root /var/www/test.friendhosting.net/;
    index index.html;

    location / {
        try_files $uri $uri/ =404;
    }
}
In this example, we’re creating a virtual host for test.friendhosting.net, setting the root directory, and defining which file to use for the index. We’re also configuring file and folder checks when requests are made.
Let’s take a closer look at configuring a virtual host.
listen: determines which IP address and port to listen for incoming connections. In this example, “listen 80” indicates that the server will listen for connections on port 80, which is typically used for HTTP traffic.
server_name: specifies the domain name of the website served by this virtual host. In this example, “server_name test.friendhosting.net” indicates that this virtual host will serve a website with the domain name test.friendhosting.net.
root: specifies the root directory where the website files are located. In this example, “root /var/www/test.friendhosting.net” indicates that the website files are located in the directory /var/www/test.friendhosting.net.
index: specifies the name of the file that will be used as the main page of the website. In this example, “index index.html” indicates that the file index.html will be used as the main page.
location: specifies additional settings for processing requests depending on the URL address. In this example, “location /” indicates that all requests that start with / will be processed according to the specified rules. In this case, if the requested file is not found, Nginx will return a 404 error.
Step 8. Activate the Virtual Host nginx on Debian
To activate the virtual host, create a symbolic link to the configuration file in the sites-enabled directory:
sudo ln -s /etc/nginx/sites-available/test.friendhosting.net /etc/nginx/sites-enabled/
Then, restart Nginx:
sudo systemctl restart nginx
Step 9. Creating the website’s root directory
To create the root directory for the test.friendhosting.net virtual host, use the following command in the terminal:
sudo mkdir -p /var/www/test.friendhosting.net
This command creates the test.friendhosting.net directory in the /var/www/ directory. The -p option allows you to create directories recursively if they do not exist yet. This is useful if the /var/www/ directory does not exist yet.
After creating the directory, you need to set the correct permissions for it. Since in our example the Nginx web server runs as the www-data user, this user needs to have read and write permissions for the website’s root directory.
To set the correct permissions, use the following command:
sudo chown -R www-data:www-data /var/www/test.friendhosting.net
This command changes the owner and group of the test.friendhosting.net directory to www-data. The -R option allows you to change the owner recursively for all files and subdirectories inside the directory. After running this command, Nginx will be able to access the files in the test.friendhosting.net directory and use them to serve the website.
Now, it’s time to copy index.html to our directory /var/www/test.friendhosting.net/ and also set the correct owner and group for the file. To do this, execute the following commands:
sudo cp /var/www/html/index.nginx-debian.html /var/www/test.friendhosting.net/index.html
sudo chown -R www-data:www-data /var/www/test.friendhosting.net/
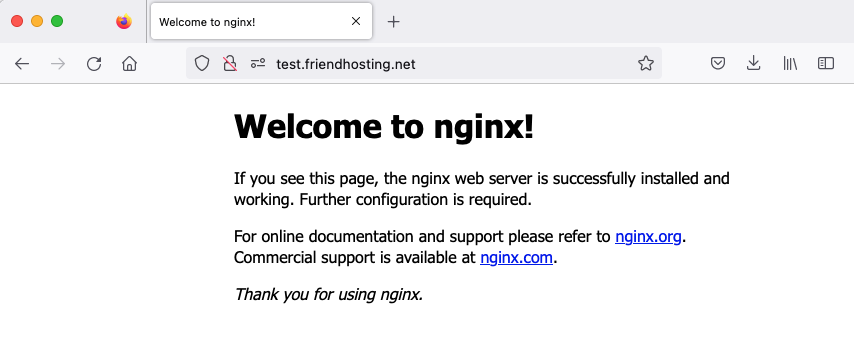
Now, by entering http://test.friendhosting.net in the browser’s address bar, you should see the standard “Welcome to nginx!” page.
After completing this instruction, we have a fully configured and running web server Nginx on the Debian 11 operating system. The configured virtual host, root directory, and index file allow you to start developing and publishing your site.
This instruction is a useful guide for those who want to install and configure the Nginx web server on Debian 11. It allows you to complete the task step by step and get a fully configured and running server without any difficulties. This instruction is recommended as a resource for anyone who wants to master the setup of the Nginx web server on Debian 11.
In the next article of our practical course on installing WordPress on Debian 11 without a control panel, we will discuss installing Apache on Debian 11 and configuring it for the proper functioning of the website.