Apache HTTP Server, known as Apache, is a free and open-source web server developed by the Apache Software Foundation. Launched in the early 1990s, Apache has been a dominant web server on the Internet for a long time due to its modularity, flexibility, and reliability. It supports a broad range of features, including virtual hosts, SSL/TLS, and a flexible configuration system. Apache is available for various operating systems, including UNIX, Linux, and Windows. This article will cover the installation of Apache on Debian 11. The instructions will also be applicable for earlier versions such as Debian 10 and later ones like Debian 12.
If you are following our course on installing WordPress on a Debian 11 server without a control panel and have already completed installing nginx, you should start by stopping nginx
sudo systemctl stop nginx
Now you can proceed to install Apache.
Here is a step-by-step instruction on installing Apache on Debian 11:
Step 1. Update the system
First, update the list of available packages:
sudo apt update
Step 2: Install Apache
sudo apt install apache2
Step 3. Start Apache on Debian 11
sudo systemctl start apache2
Step 4. Check Apache Status
sudo systemctl status apache2
If everything was successful, you should see the message “active (running)”.
Step 5: Configure the Firewall
Allow Apache traffic through UFW by executing the command:
sudo ufw allow 'WWW Full'
Step 6: Check Apache is Working
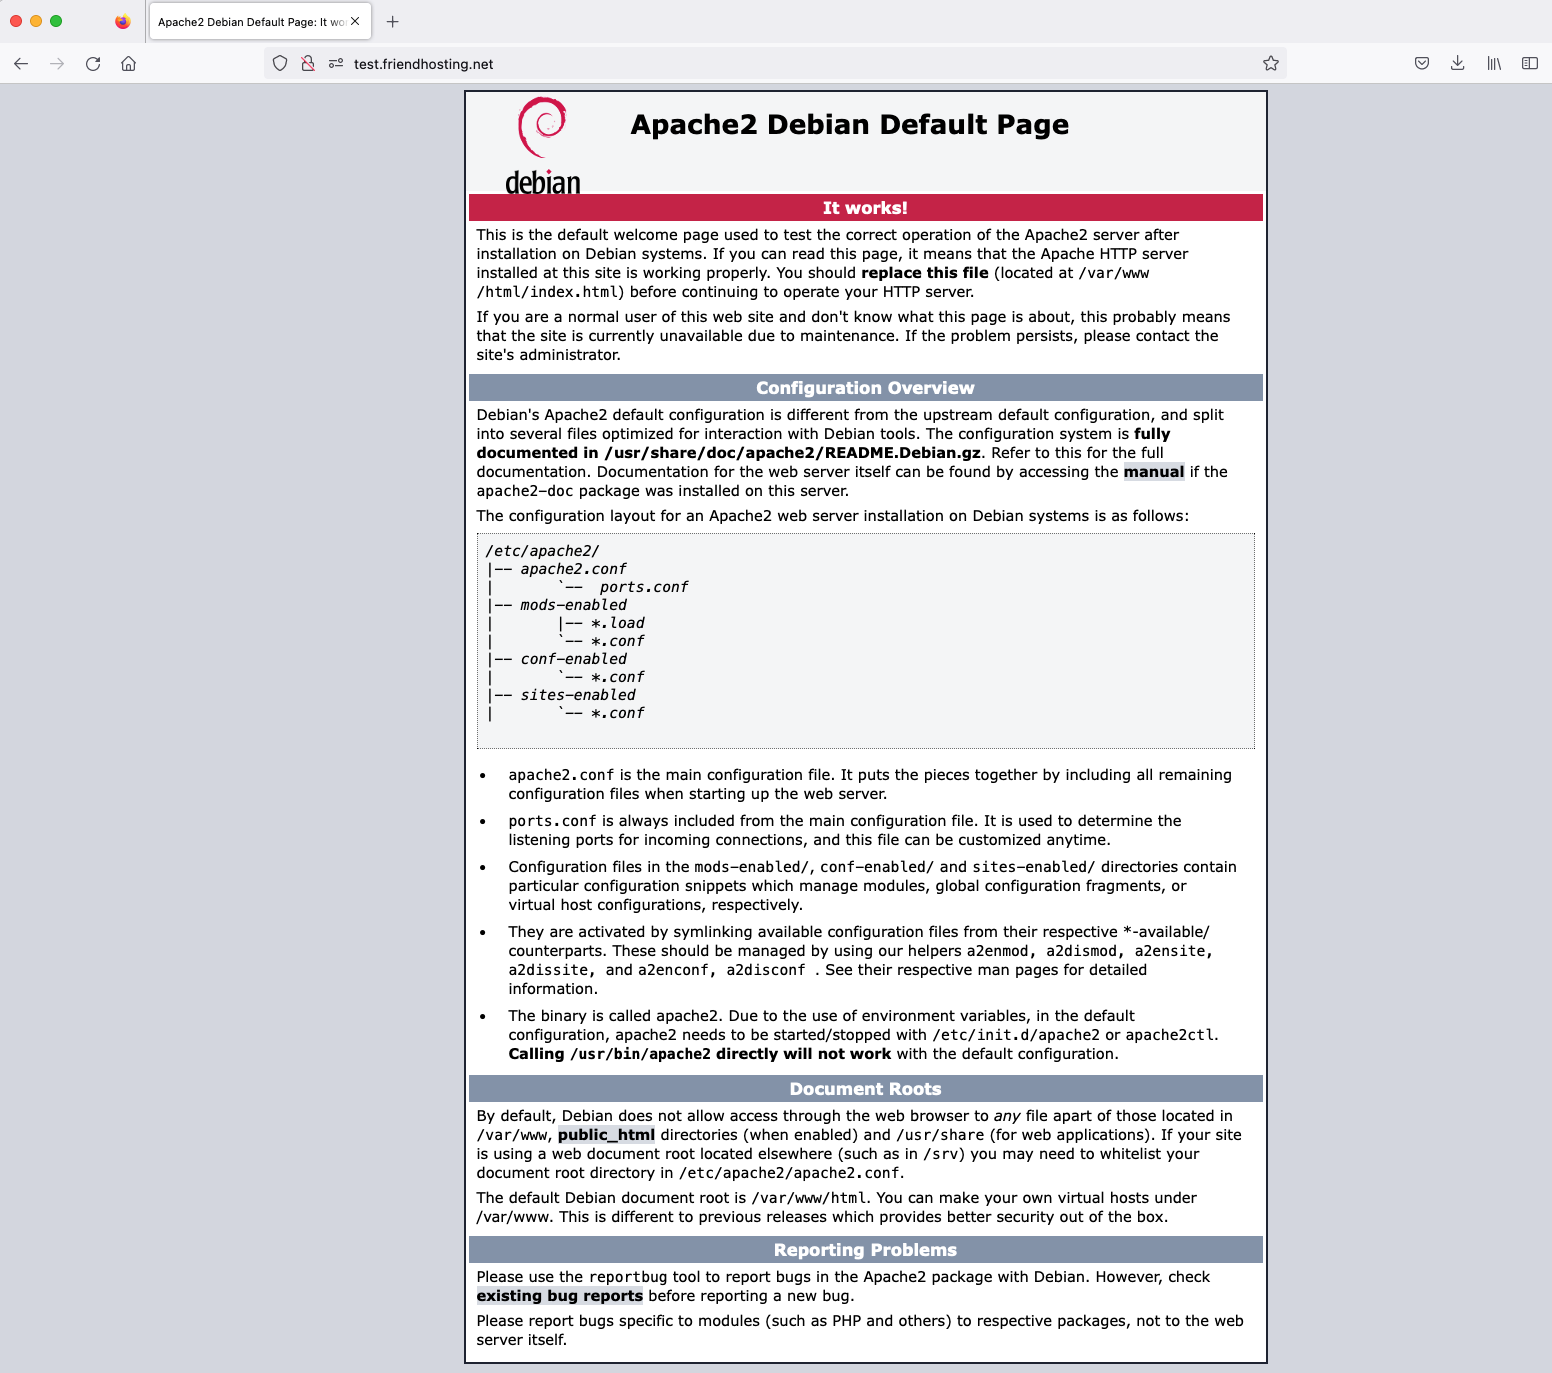
Open the IP of your server or domain in a browser. For our course, we use the subdomain http://test.friendhosting.net
If everything is correct, you should see the standard “Apache2 Debian Default Page”.
Step 7: Create a Directory for Your Site
To create the root directory for the virtual host test.friendhosting.net, you need to execute the command in the terminal:
sudo mkdir -p /var/www/test.friendhosting.net
After running this command, the directory test.friendhosting.net will be created within the /var/www/ directory, as well as any necessary parent directories along the path if they weren’t already created.
To set the correct permissions, you need to execute the command:
sudo chown -R www-data:www-data /var/www/test.friendhosting.net
Executing this command will change the owner and group for the directory /var/www/test.friendhosting.net and all its subdirectories and files to www-data. This is done to ensure that the web server can correctly work with the content of this directory, having the rights to read, write, or execute operations depending on the configuration.
Step 8: Configuring Apache Virtual Host in Debian 11
Virtual hosts allow your Apache web server to handle requests and serve different domains as if you have multiple web servers on a single physical server.
Apache has a sites-available directory where configurations for virtual hosts are stored. Each site needs a separate file. Create a configuration file for the site. As an example, we will use test.friendhosting.net
sudo nano /etc/apache2/sites-available/test.friendhosting.net.conf
Add the following configuration to it:
<VirtualHost *:80>
    ServerAdmin [email protected]
    ServerName test.friendhosting.net
    ServerAlias www.test.friendhosting.net
    DocumentRoot /var/www/test.friendhosting.net/
    ErrorLog ${APACHE_LOG_DIR}/error.log
    CustomLog ${APACHE_LOG_DIR}/access.log combined
</VirtualHost>
Every directive in the Apache virtual host configuration has its own role and is important for the proper setup of web hosting. Here’s a detailed description of each:
ServerAdmin specifies the email address of the website administrator. This address is often displayed on the server’s error pages so that visitors can report technical issues. In the example, [email protected] is the address where information about problems will be sent.
ServerName sets the primary domain that the virtual host services. When Apache receives a request, it uses the ServerName value to determine which virtual host to use. The value test.friendhosting.net indicates that this virtual host will respond to requests intended for this domain.
ServerAlias defines additional domains that will be handled by this virtual host. This allows a single virtual host to respond to requests for different domain names. In this case, www.test.friendhosting.net is an alias, and the virtual host will also handle requests for the www-version of the domain.
DocumentRoot sets the directory where the website’s files are stored. This is the root directory from which Apache will serve content for the virtual host. In the example, /var/www/test.friendhosting.net/ is the folder where all the website’s files will be located, such as HTML, CSS, JavaScript, and images.
ErrorLog sets the path to the file where server error messages will be recorded. This log contains detailed information about any errors that have occurred on the server and is often used for problem diagnosis. In this example, ${APACHE_LOG_DIR}/error.log uses the APACHE_LOG_DIR environment variable, which is typically defined as /var/log/apache2.
CustomLog specifies the path to the access log file, where information about each request to the server is recorded. This includes details such as the visitor’s IP address, the requested URL, the time of request, and the server’s response status code. The ‘combined’ directive at the end means that the combined log format will be used, which is a widely accepted standard and contains useful information such as the referrer (where the user came from) and user agent information (which browser was used).
It’s time to activate your virtual host. To do this, execute the following command
sudo a2ensite test.friendhosting.net
Now deactivate the default virtual host. For this, execute the following command
sudo a2dissite 000-default.conf
Restart Apache:
sudo systemctl restart apache2
Let’s create an index.html in the root directory of our site. Execute the command
sudo nano /var/www/test.friendhosting.net/index.html
and copy the following text into it
Virtual host test.friendhosting.net is working.
Now, by opening our domain http://test.friendhosting.net in a browser, we will see the standard page
This is a basic instruction for installing and configuring Apache on Debian 11. There are many additional settings and optimizations that you can perform to tailor the server to your needs as much as possible.