For the convenience of users, we have implemented the ability to transfer servers without the involvement of the finance department.
Before transferring a server to another user, make sure you know their login (do not confuse it with the primary email) and account ID. You can find this information in the account settings or by following this link: https://my.friendhosting.net/billing.php?do=settings
Step-by-step instructions:
Step 1. Log in to the account from which you want to transfer the server.
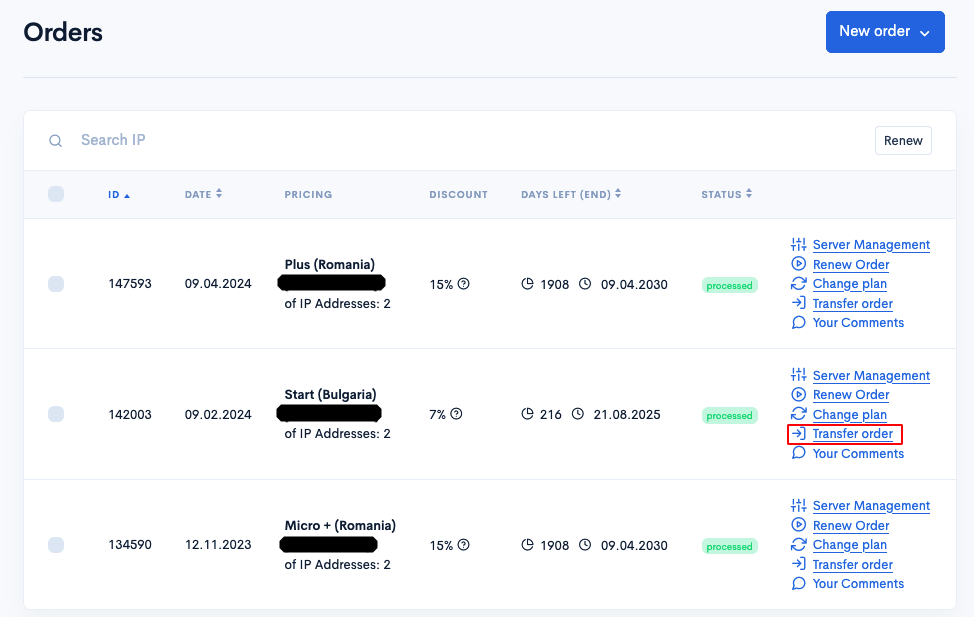
Step 2. Find the order you want to transfer and click on the “Transfer Order” button.
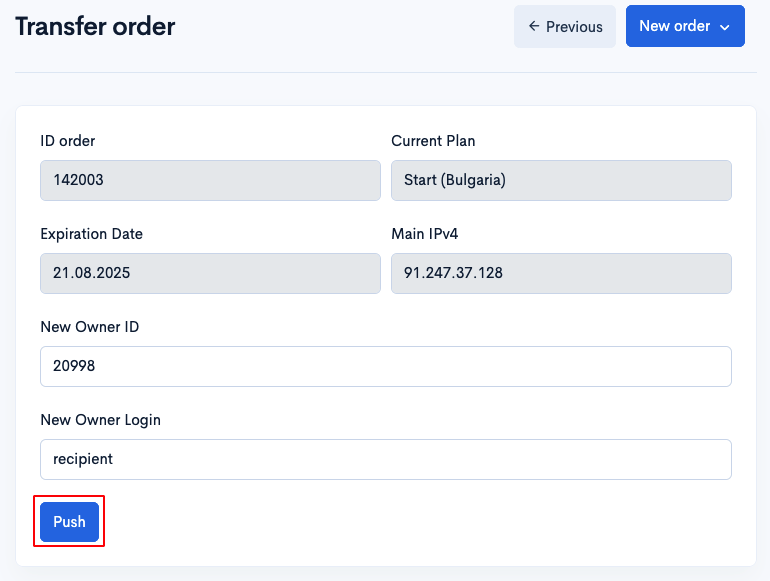
Step 3. In the window that opens, enter the recipient’s login and ID. After entering the information, click “Push”.
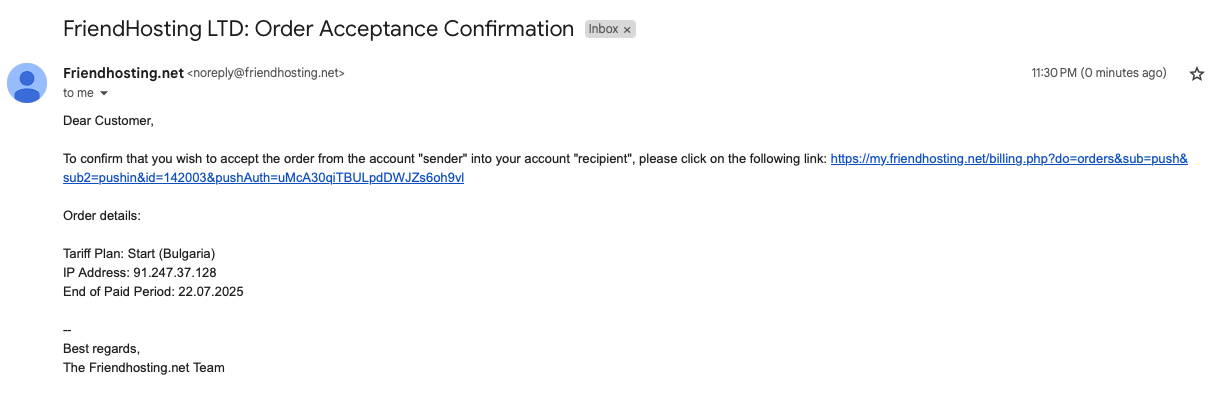
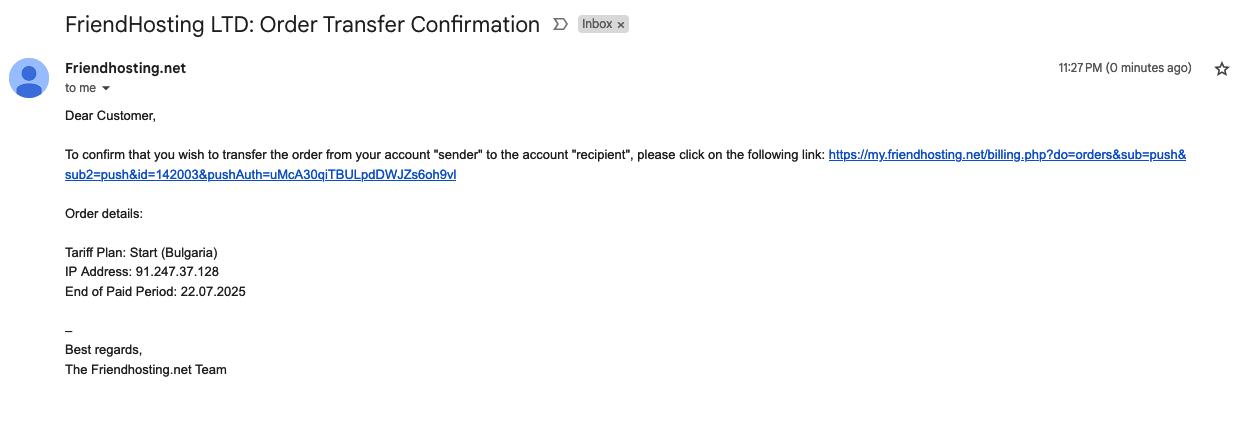
Step 4. You will receive an email confirming the server transfer. The email will include the server ID, its IP address, and a link to confirm the transfer. Click the link in the email (subject: “Order Transfer Confirmation”) to confirm the transfer.

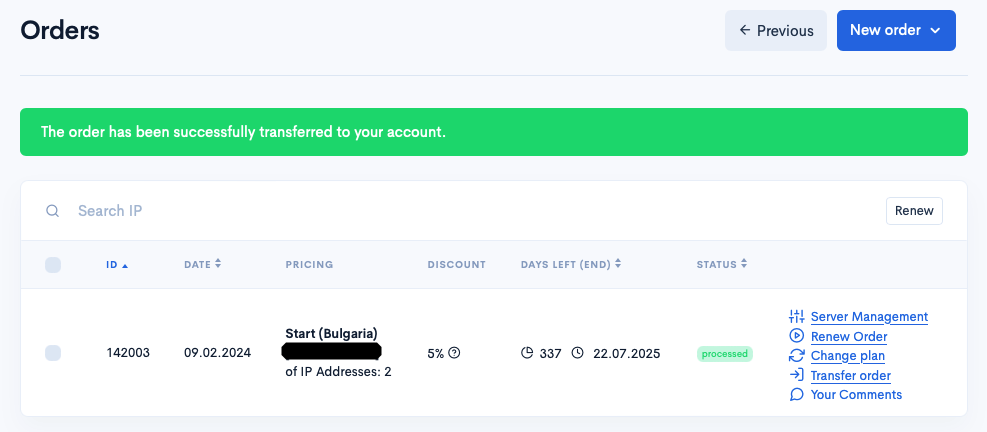
Step 5. The user to whom you are transferring the server will also receive an email with the server details and a link to confirm the transfer. They will need to click this link (subject: “Order Acceptance Confirmation”) to complete the transfer process. After this, they will see a message confirming the successful transfer, and the server will appear in their account.