To configure the integration, follow these steps:
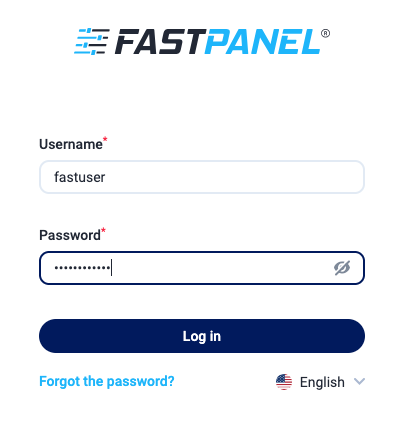
Step 1. Log in to the control panel as fastuser (you received the login credentials in the email).
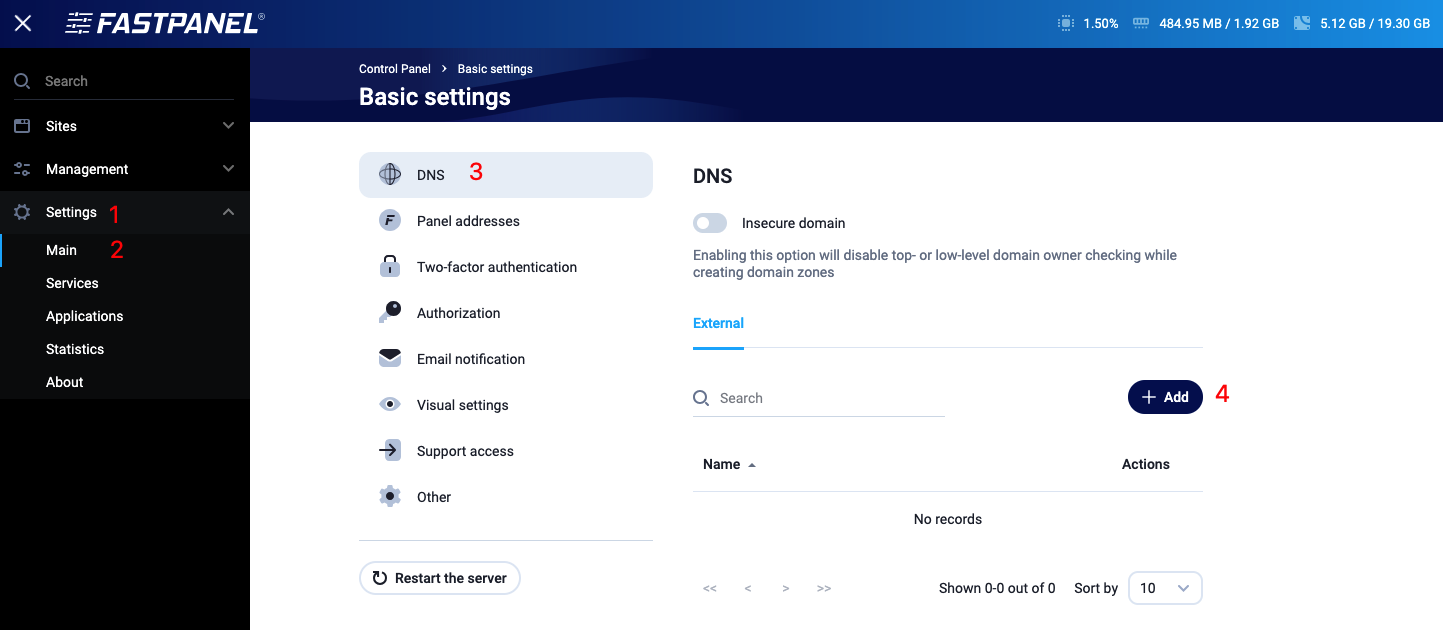
Step 2. Go to the menu item “Settings” → “Main” → “Add”.
Step 3. In the corresponding form, enter the data from the email “DNS for domains delegation”. To receive this email with the settings, you need to order the service “DNS hosting provider” (free of charge). The “Name” field can be filled with any value.
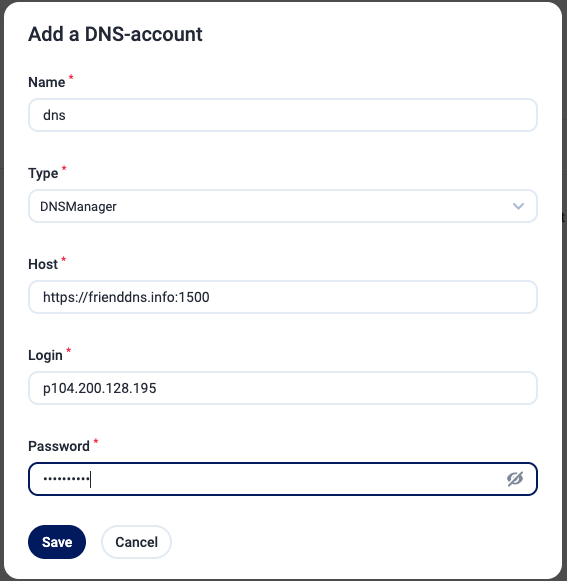
If everything was successful, you will see the newly configured DNS account.
